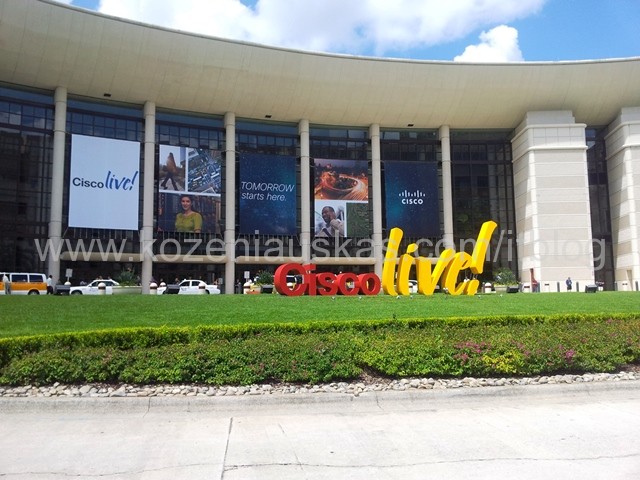
So I had a great opportunity to visit Cisco Live 2013 in Orlando.
This was my first(I hope not last) to Cisco Live and I can say it was really impressive.
Everything was big and american style but that is not important. What is important is the things that you can get from this event.
Seeing new products, getting some hands on in the labs and meeting people in the show and talking to techies was really beneficial. The amount of sessions was just huge and I tried to attend as many as possible. This was intensive brain training for 4 days on steroids.
The amount of information that I was receiving each day was mind blowing and I had problems sleeping(probably jet lag also played here)
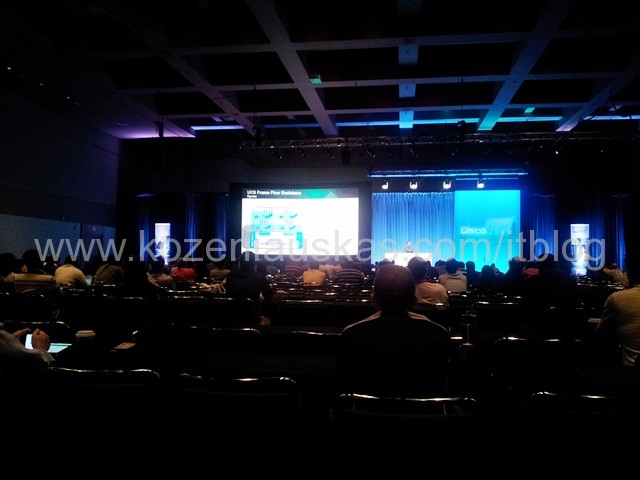
Here are some pictures:
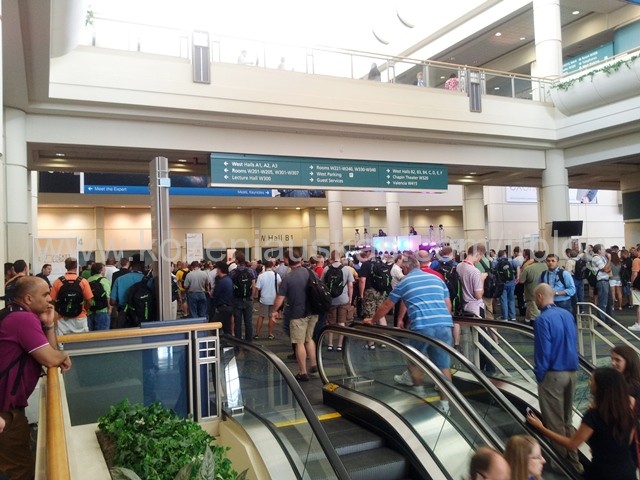
Geeks gathering 🙂
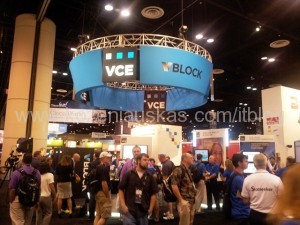
VCE booth
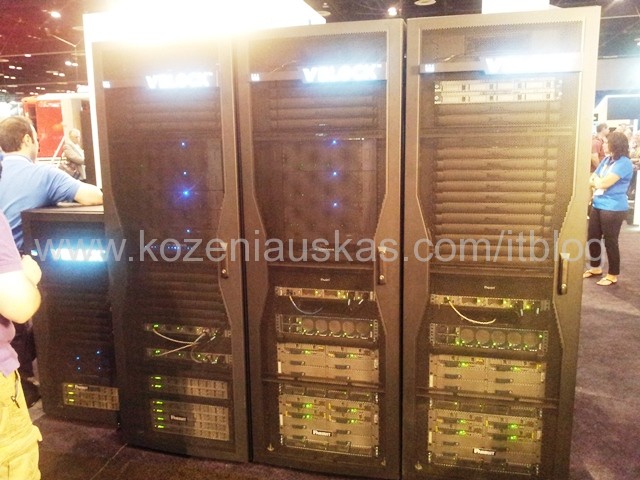
Vblocks