Before you start changing the background image you have to decide ore going to completely change it or do you want to modify existing. I will describe how to modify existing one. (If you need to change it completely then go to the step where it says “Go back to Configuration Manager Console”)
Open Configuration Manager Console
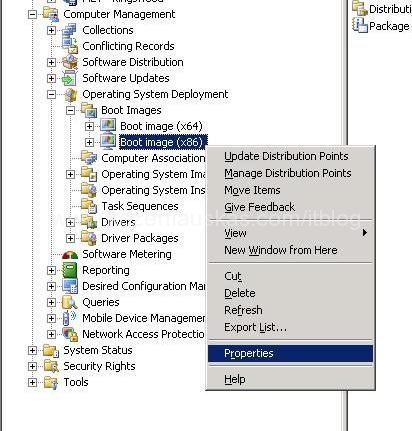
Go to System Center Configuration Manager>Site Database>Computer Management>Operating System Deployment>Boot Images
You should see two images there x64 and x86 (You will need to change the image for both)
At first we need to get the current background in order to modify it.
Right Click on any of those and select Properties. Boot image properties window will open
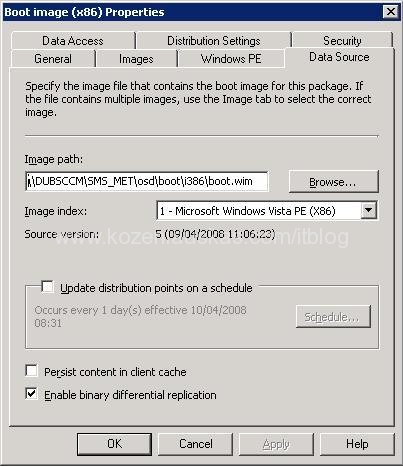
Now we need to find where the Boot image is located.
In Boot image properties select Data Source tab.
Image path shows where the image located.
Once you know where the image is you have to mount it and extract the background.
I have described the mounting process in one of my previous post. But I’ll do it again here.
Copy the image file to a folder(I’ve copied to the root) .
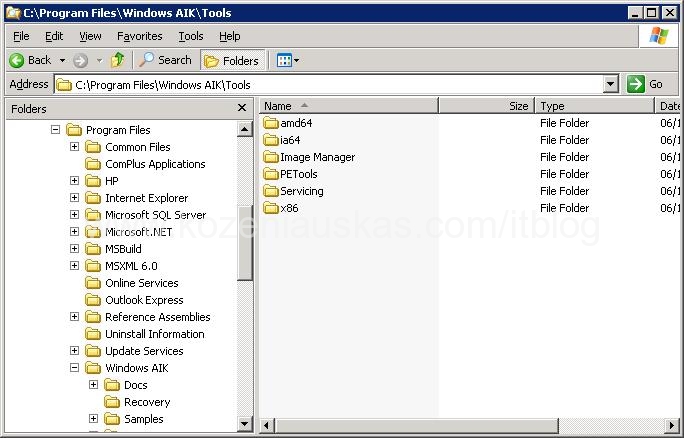
To mount the image you need imagex which is a part of WAIK and WAIK is installed with SCCM.
Open Windows explorer on your SCCM server and go to C:\Program Files\Windows AIK\Tools in there you will find 6 folders
Now you have to open the folder depending on your OS. So if you are running SCCM on x86 you open x86 folder. If its 64 bit then open amd64. For Itanium open ia64.
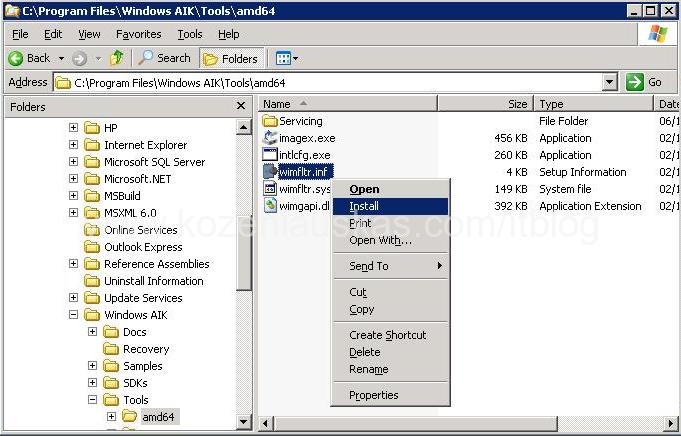
Now right click on file named wimfltr.inf and choose Install. This will install WIM filter.
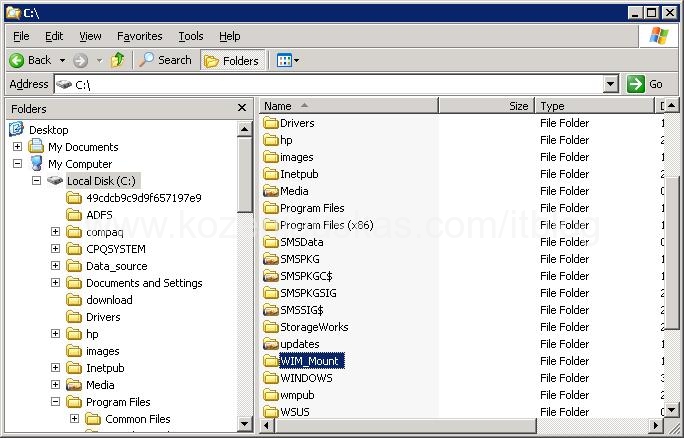
Create a new folder it will be used to as a mounting point. I’ve created WIM_Mount
Open Command prompt and mount the image to do that you need to provided image file and image number and mounting point. The syntax would look like this:
imagex /mount ImageFileName.wim ImageNumber ImageMountingPoint
Note: This will mount image as read-only. If you need to modify image then change mount to mountrw but we are not going to need this.
Again you have to use the imagex file depending on the the OS that you are running(x86, x64, ia64).
So in my case the string looks like this:
“C:\Program Files\Windows AIK\Tools\amd64\imagex.exe” /mount c:\boot.wim 1 c:\wim_mount
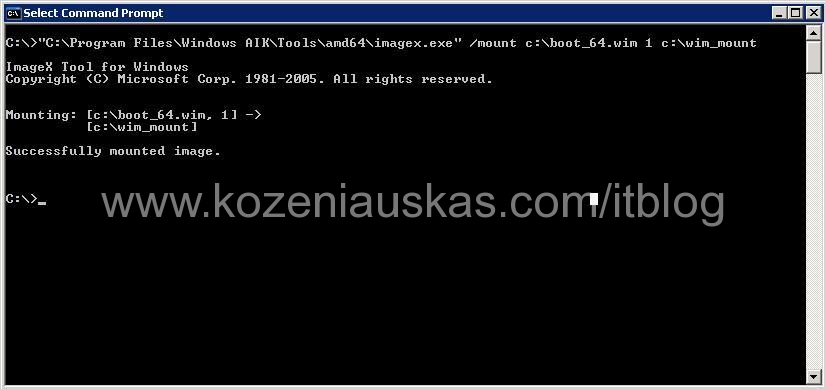
Once the image is mounted, open mounting point and browse to Windows\system32
There you will find a file called winpe.bmp copy it to separate location.
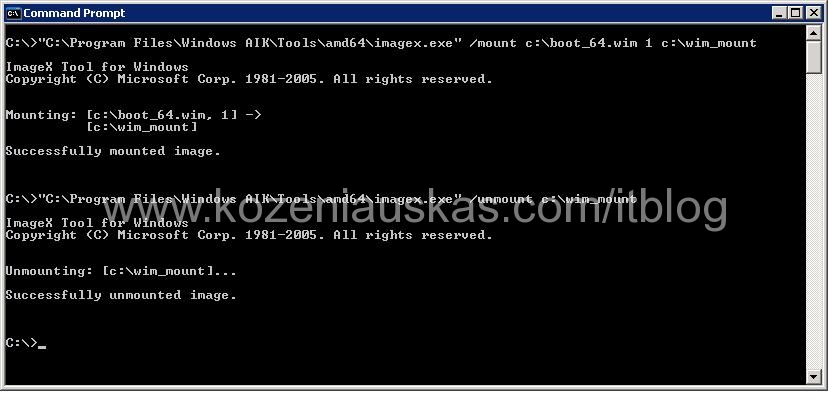
Unmount the image:
“C:\Program Files\Windows AIK\Tools\amd64\imagex.exe” /unmount c:\wim_mount
winpe.bmp is a background file open it with Imaging software and do your modifications. When finished save the file to a network share.
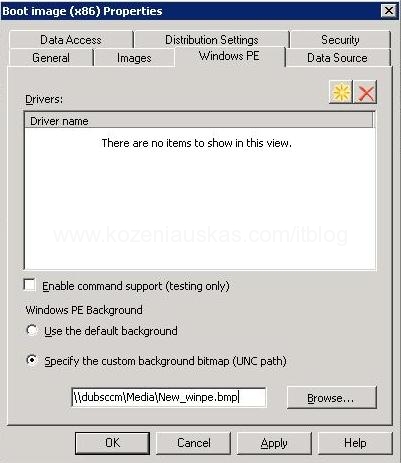
Go back to Configuration Manager Console and open Boot image properties.
Select Windows PE tab. Select Specify the custom background bitmap (UNC path) and browser to the netwotrk share where you’ve saved the background file and click OK.
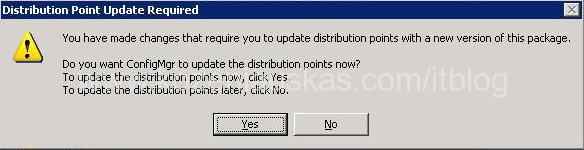
The dialog window will pop up saying Distribution point updated Required. Click Yes.
Manage Distribution Points Wizard will start. Click Next
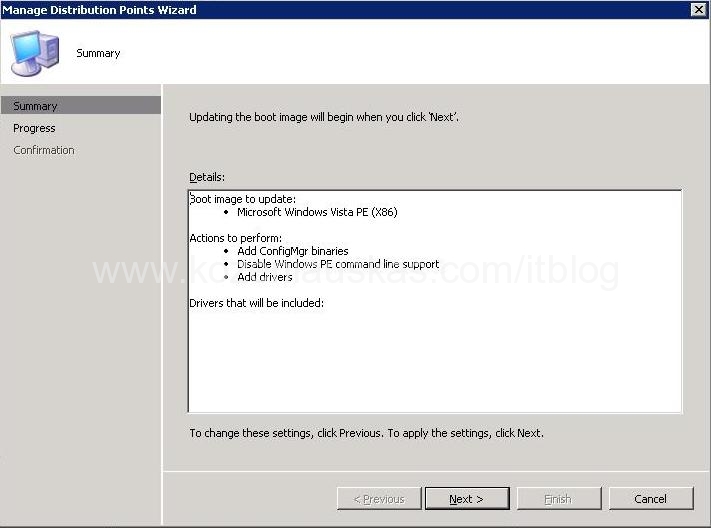
Wait for progress to finish

Click Close
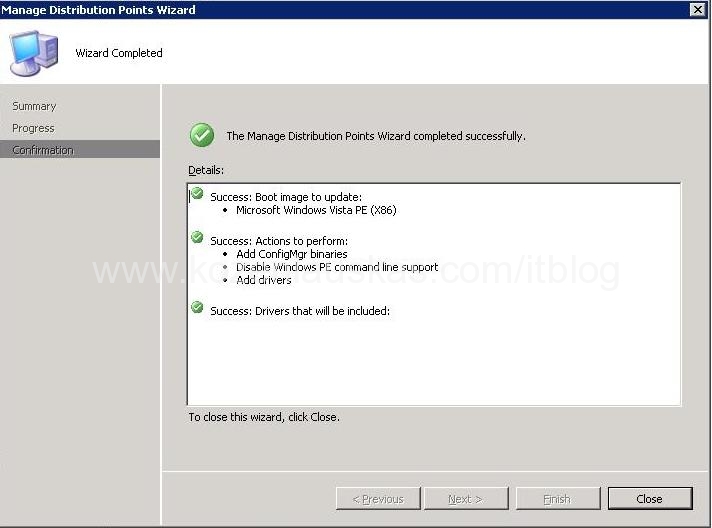
That’s it.
Note: You will have to create your capture media again in order to have your change background on them.
Tags: background, boot image, Change, how to, modify, OSD, picture, SCCM

Good Work…
Great, thanks for this. Foolishly I was trying to set a jpeg image; doh!
There is a mistake. During mounting use key /mountrw
“C:\Program Files\Windows AIK\Tools\amd64\imagex.exe” /mountrw c:\boot.wim 1 c:\wim_mount