When creating a Task sequence for OS deployment you need to provide the package for SCCM client.
Here are the steps how to create SCCM client Package
Open Configuration Manager Console
Go to System Center Configuration Manager>Site Database>Computer Management>Software Distribution
Right click on Packages and select New>Package

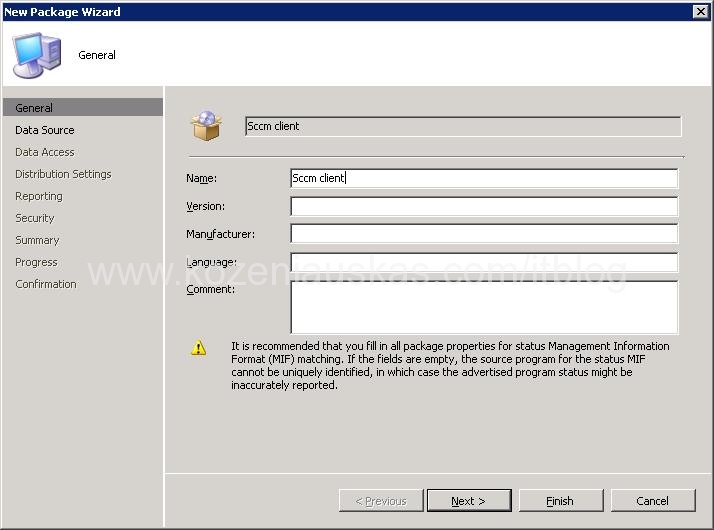
The New Package Wizard will start. Enter the package name and also you can provide other details
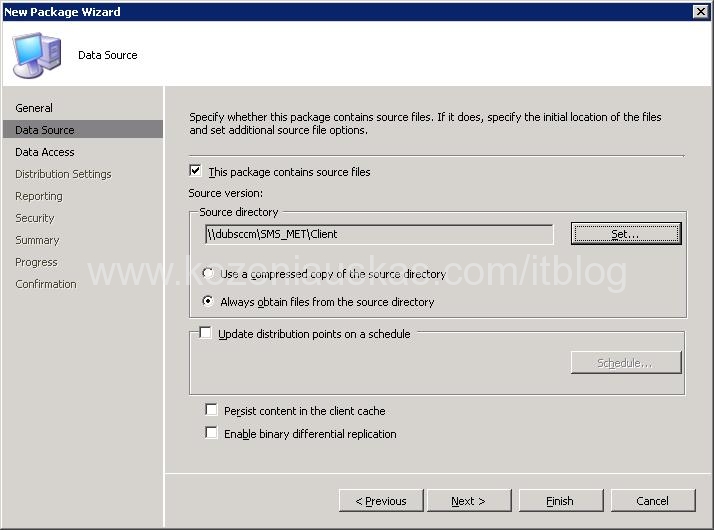
Select This package contains source filesand provide UNC path to the location where your SCCM client is located. Usually it is located in \\$server$\SMS_$site_code$\client share.($server$ is your SCCM server name, $site_code$ is your 3 character site code). Click Next.
Select Access the distribution Folder through common ConfigMgr package share and click Next

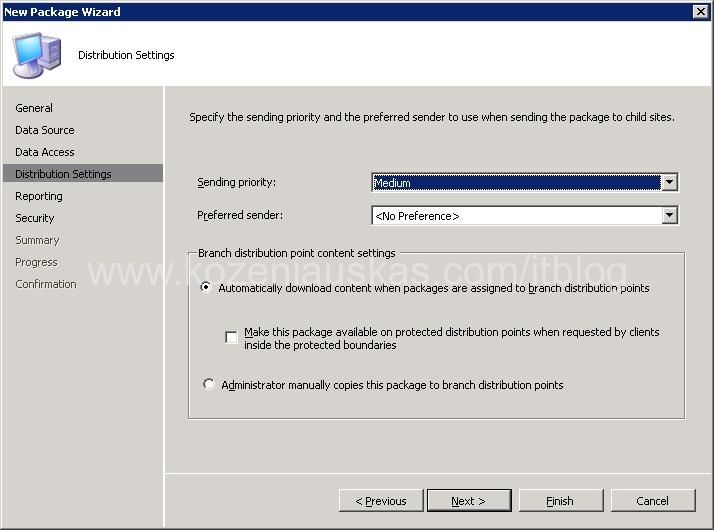
Leave default in Distribution Settings and click Next
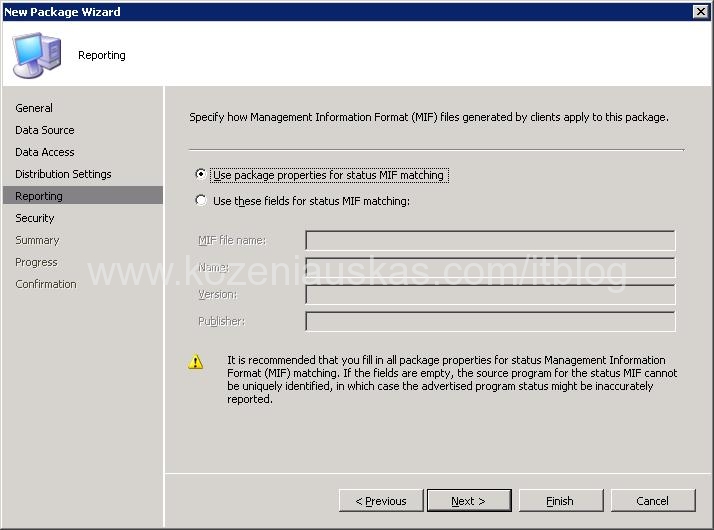
Leave defaults in Reporting and click Next
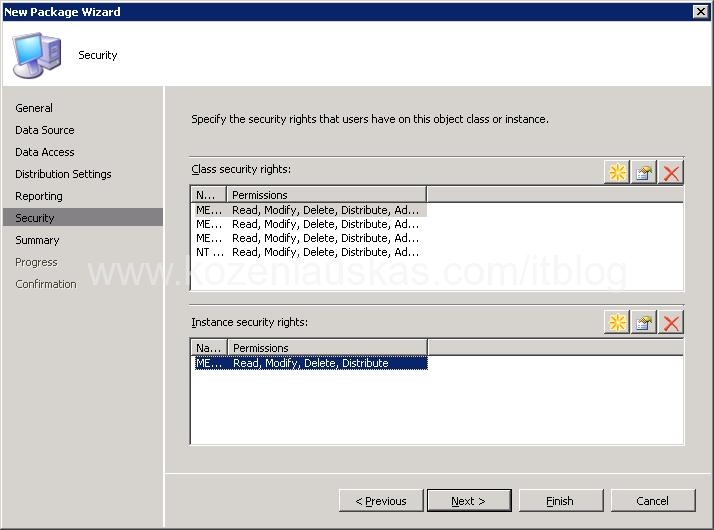
Leave defaults in Security and click Next
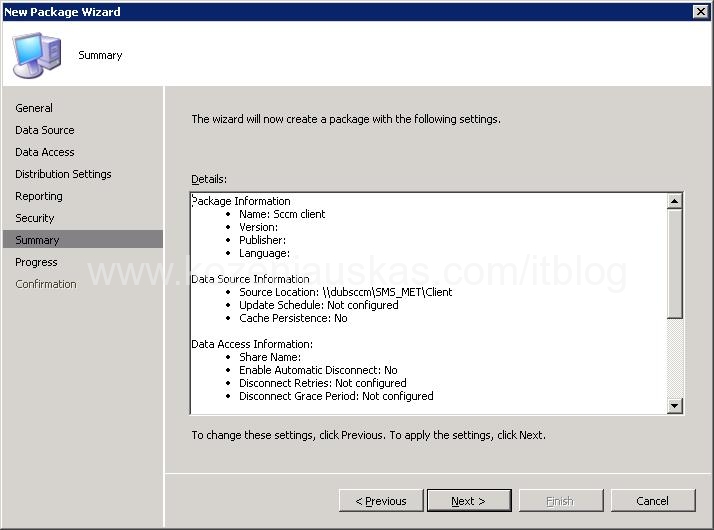
Review Summary and click Next
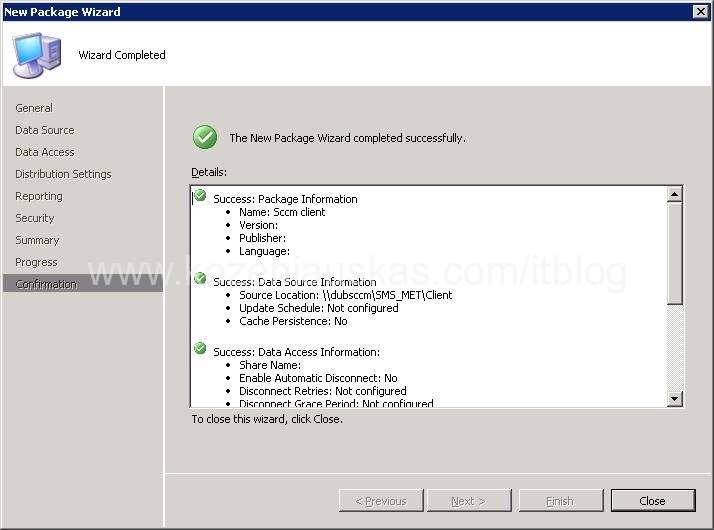
Wait until progress completes and click Close.
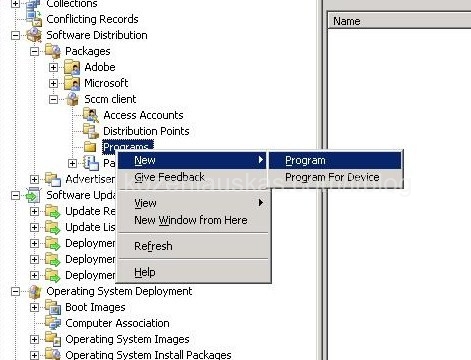
Once the Package is created you need to create a Program
Expand SCCM client Package. Right click on Programs and select New>Program
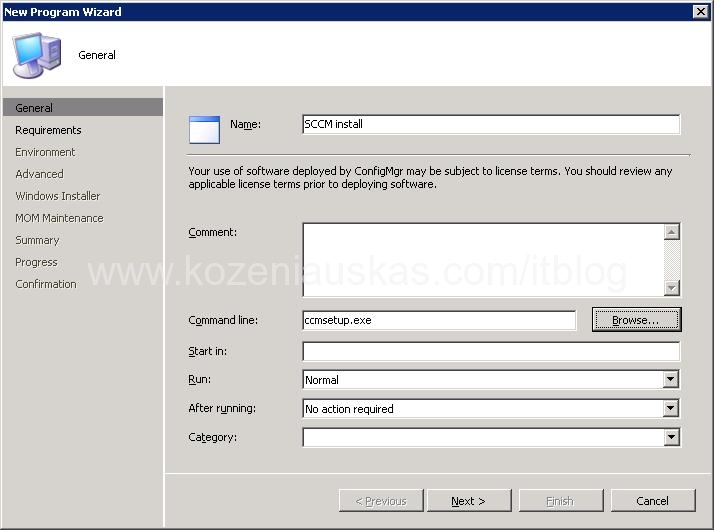
New Program Wizard will start. Enter the program name. Click on Browse button and select ccmsetup.exe click OK. Click Next.
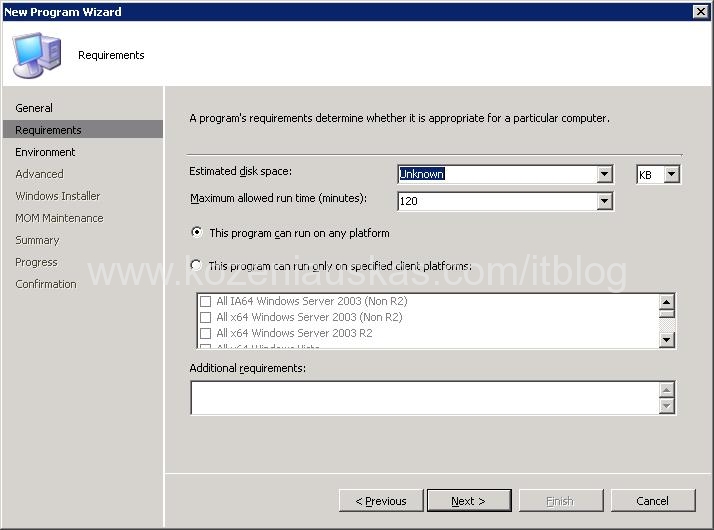
Leave defaults in Requirements click Next.
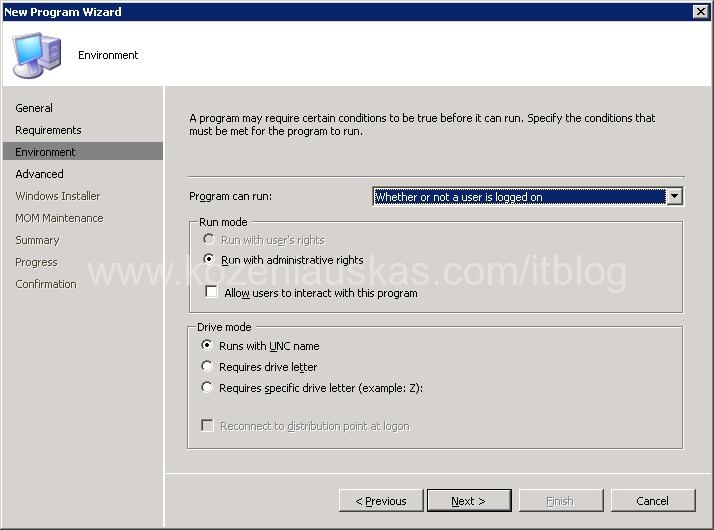
In Environment change Program can run to Whether or not a user is logged on. Select Run with administrative rights and Run with UNC name click Next
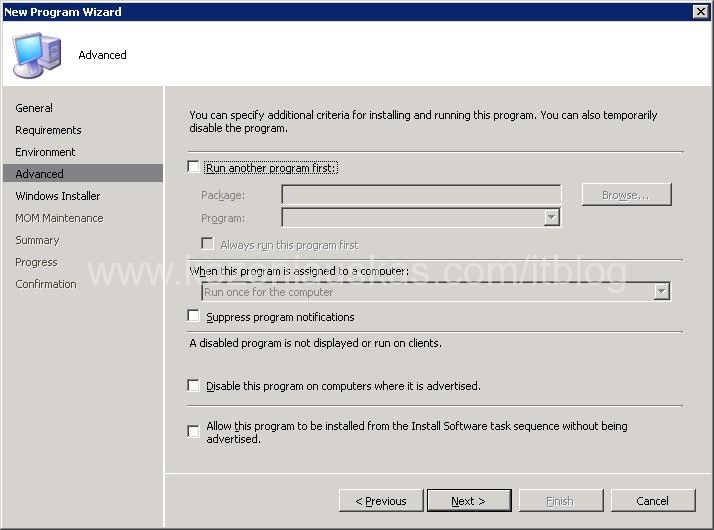
Untick all ticked boxes in Advanced click Next.
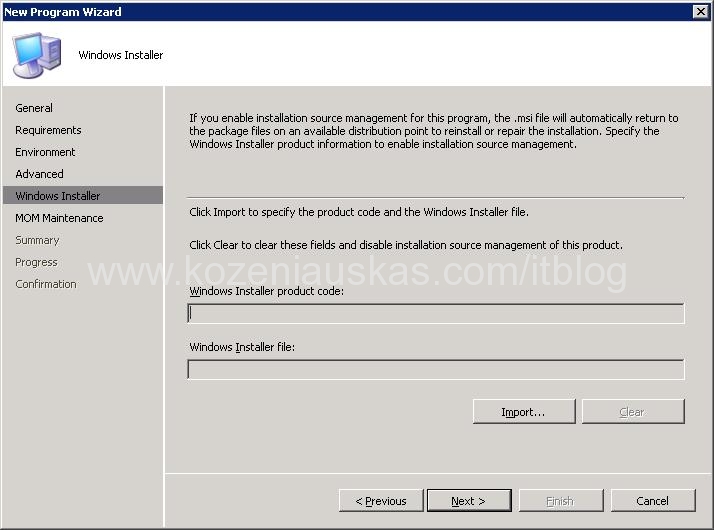
Click Next in Windows Installer
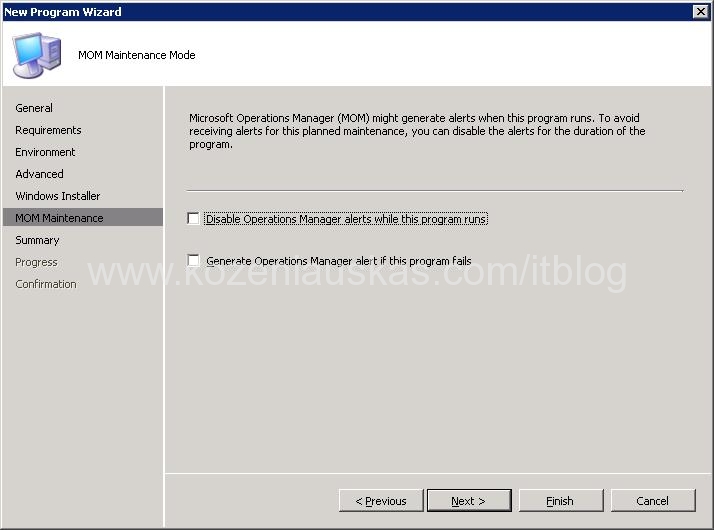
Because I don’t have MOM I don’t need to tick anything in MOM Maintenance Mode
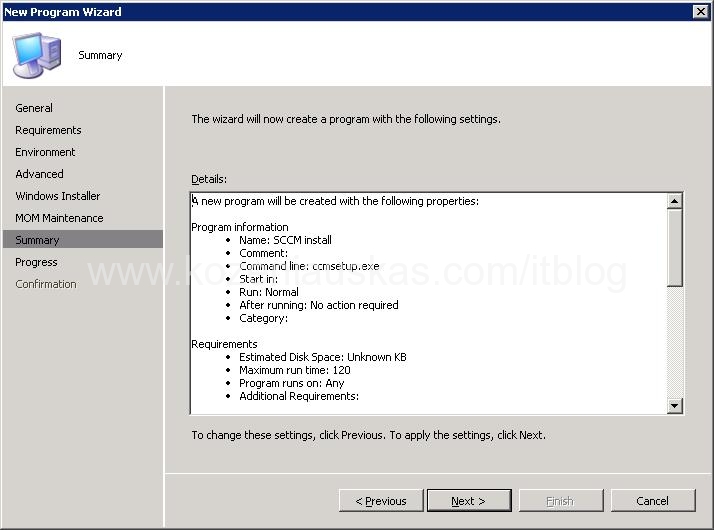
Review Summary and click Next
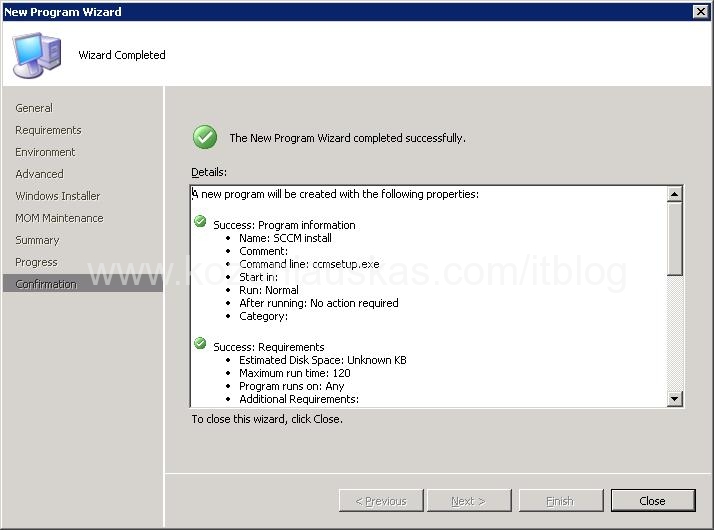
Wait until Progress finishes and click Close.
The Program is created. Now we need to assign Distribution Point to the package.
Expand SCCM client Package. Right click on Distribution Points and select New Distribution Point
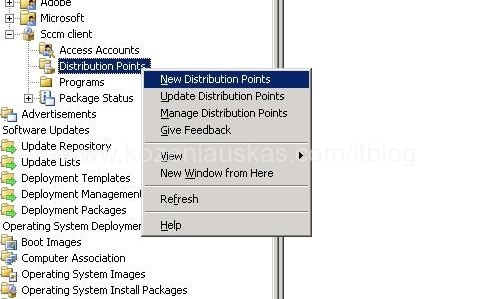
New Distribution Point Wizard will start. Press next in Welcome screen.
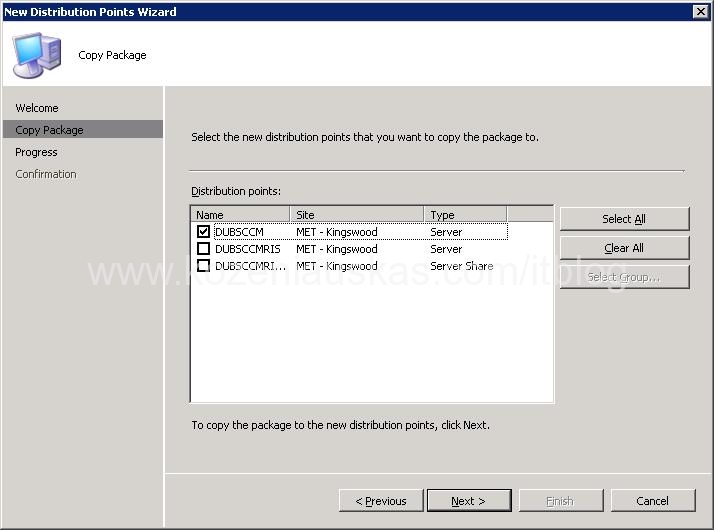
Select Distribution point or points that you want to use and press Next.
Wait for progress to finish and click close.
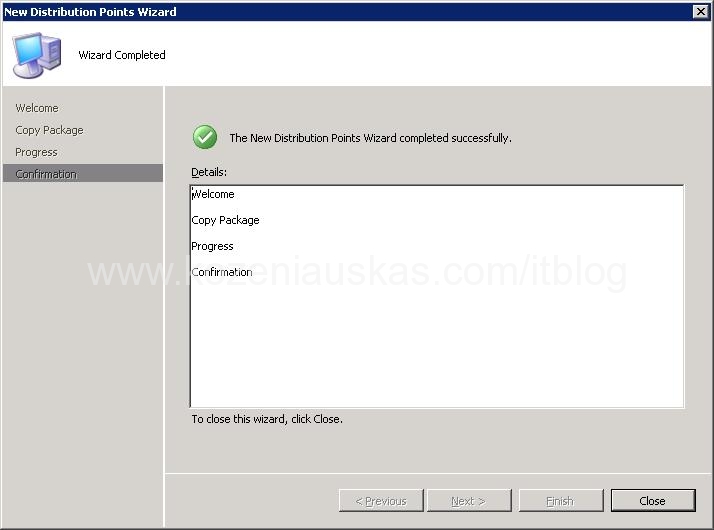
That’s it. The SCCM client is ready for deployment.
Tags: create package, how to, OSD, program, SCCM, sccm client

[…] Also you must have SCCM client package ready: How to create SCCM client Package and Program for OSD […]
thnaks…
But what about advertising the package…
You don’t need to advertise the package if it will be used with OSD only.
How do i create silent packages in sccm 2007
It depends how the installation was packaged. Most of the time you just add switches(like /silent /quiet) to the setup.exe when creating program. To find out what switches you need just open command prompt and type the name of installation file(which is ussualy setup.exe and add ‘/?’. So it would look like ‘setup.exe /?’. This should list all the switches and options that you can use.
Hi,
I want to know if its possible to push this client package you created to any computers listed in queries?
meaning the machines that doesnt have an agent installed but have being discovered and shoowing up in queries
Also, don’t make the mistake of doing this (as I did) from the MSI. It won’t install. It *MUST* be the ccmsetup.exe file you create the package from @ this stage. You can’t create the package out of the MSI. It just won’t install because the create & capture is hardcoded to look for the ccmsetup.exe when it hits the client install, even if you’ve told it to use the MSI. I couldn’t find this documented anywhere. PITA!