Cisco has released Cisco UCS Blade Server Diagnostics.
It’s an ISO file that you boot your blade from and there you can run a series of test to find out if there are any problems with hardware.
To run UCS diagnostics do the following:
- Download ISO file from cisco.com you’ll need login first. At the time of writing the only version available is 1.0.1a
- Login to UCS Manager and open the KVM console on the blade that you want to test(the blade must be associated with service profile and CD-ROM must be present in Boot Order at the top of it)
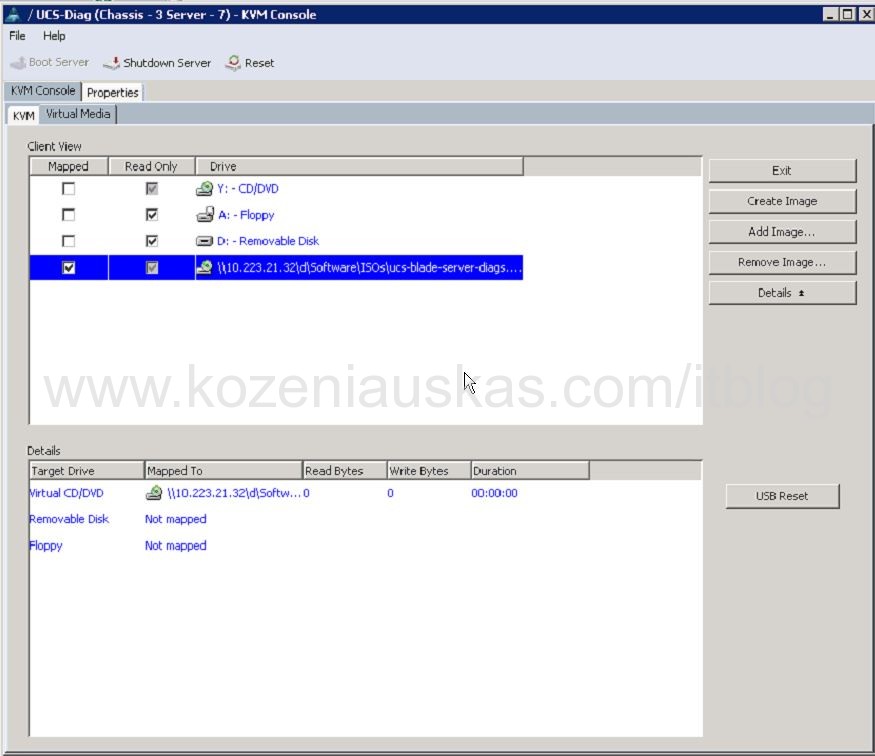
- Select Virtual Media tab, click on Add Image button, locate and select Cisco UCS Blade Server Diagnostic ISO file that you downloaded. Make sure that Mapped box is ticket next to ISO file.

- Restart the server. The server should start booting form ISO file
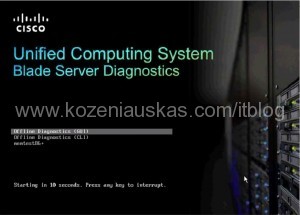
- You’ll be prompted to choose from 3 options(GUI, CLI, memtest86+) if you do not choose in 10sec the blade will into GUI
GUI and CLI are self explanatory. memtest86+ is RAM testing utility.